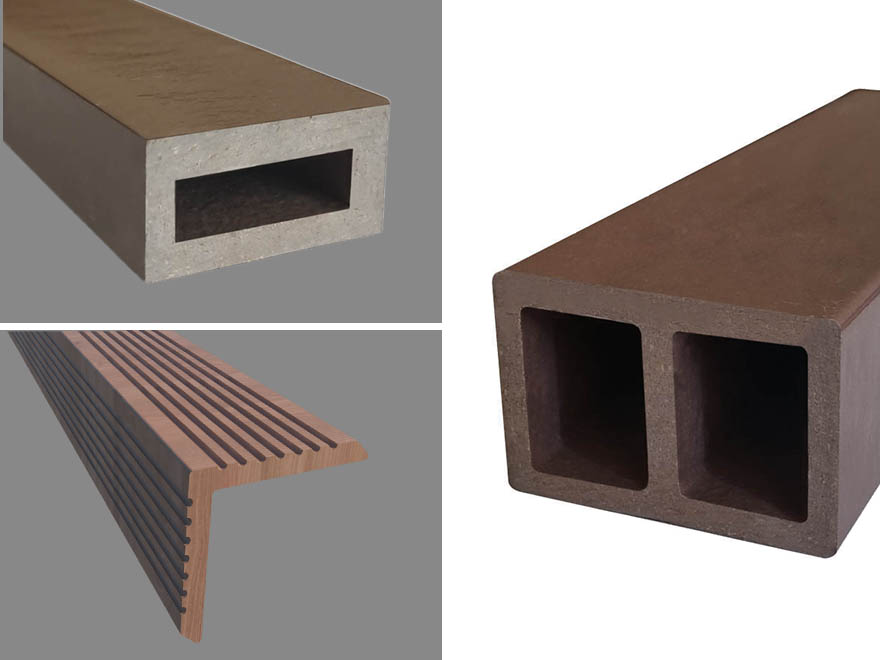
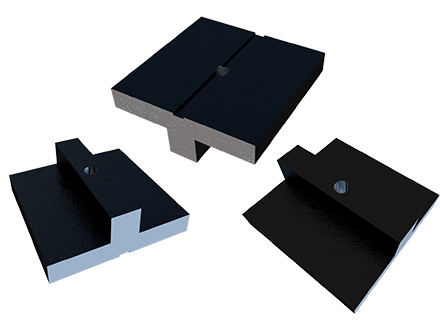
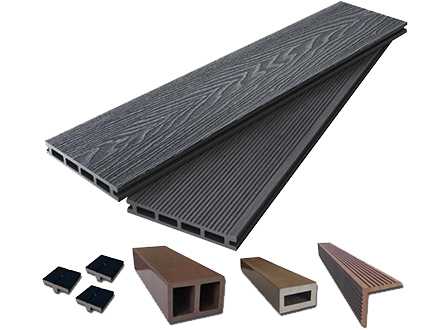
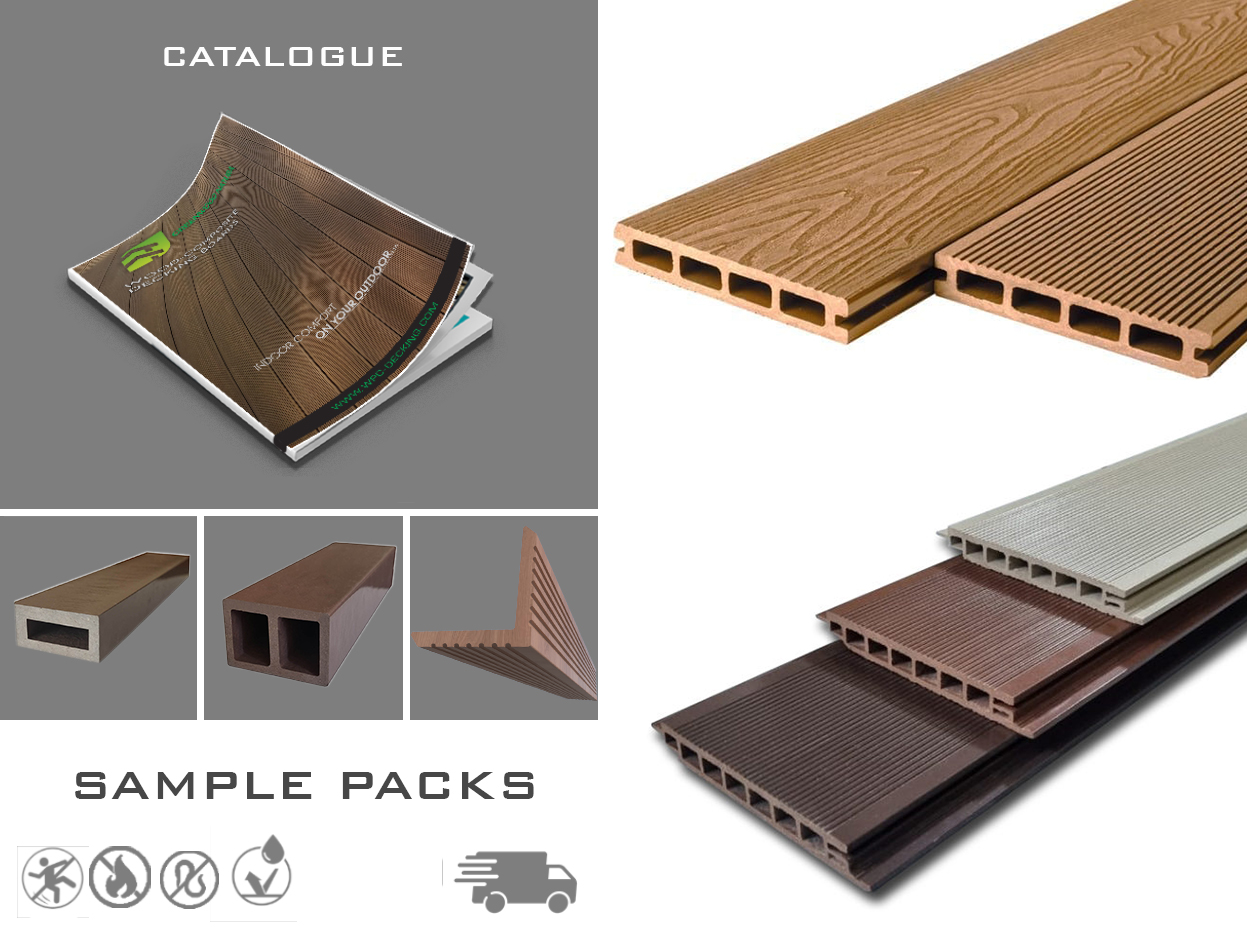
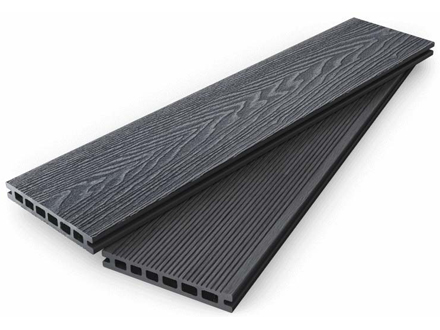
Double sided deckings with accessories altogether

Double sided deckings with accessories


Deckings: 1p – £16.2

Sub joist: 1p – £8

T-clipses: 1p – £20

Edge cover cap: 1p -£10

Total: £54.20

£

46.07

inc VAT (15% off)

Includes one pack of decking and all necessary accessories inside. If you order this version for each 1m2 of decking you get following products:
3meters of sub joists + 20pieces of T-clipses + 1meter of edge cap. Please note that each individual product/accessory has its own amount and dimensions and will increase sometimes more than for 1m2 of decking. Dimensions of products are listed below:
Sub joist (1 piece): 3meter (fits for 1square meter)
T-Clipses: 100 pieces/pack (fits for 5m2 of deck)
Edge cover cap (1 piece): 2.4meter (fits for 2.4 m2 of deck)
You can choose between 2 different size version of joist according to your need from calculator.

We recommend you to leave the deck one day near to the installation area in order to absorb
surrounding temperature. .
1– Start the installation aligning the joists to the area. You are recommended to align
joists parallelly leaving 35 cm gap between. To make a 1-1.5° slope to the base is
also good in order to run off the water that collects under the decking.

Basement is required to be stable and rigid to maintain the sustainibility of decking.
Concrete basement is good for this purpose that maintains this characteristic. After aligning
the joists, they should to be fastened to the to the ground by screws to prohibit any
movement. (Figure A)
2– After installing joists, the deck attachment step starts. Edge part of deckings are fastened
to the joists by screw itself through edge holes as shown in Figure B.

Following decking boards are mounted to the joists and to each other with T clipses.(Figure C)
Note that during warmer days decking boards change their length as 2 mm per each meter.
Thus, a gap of 2 mm per each meter of deck should be left between nishings of deckings.
(Figure D)

3– Final part is mounting the corner caps. This corner caps covers all finishing edges and are
fastened to the joists with screws from sides as shown in Figure D

You may also need